Zelda: Breath Of The Wild: Shae Loya Shrine Solution
Por um escritor misterioso
Descrição
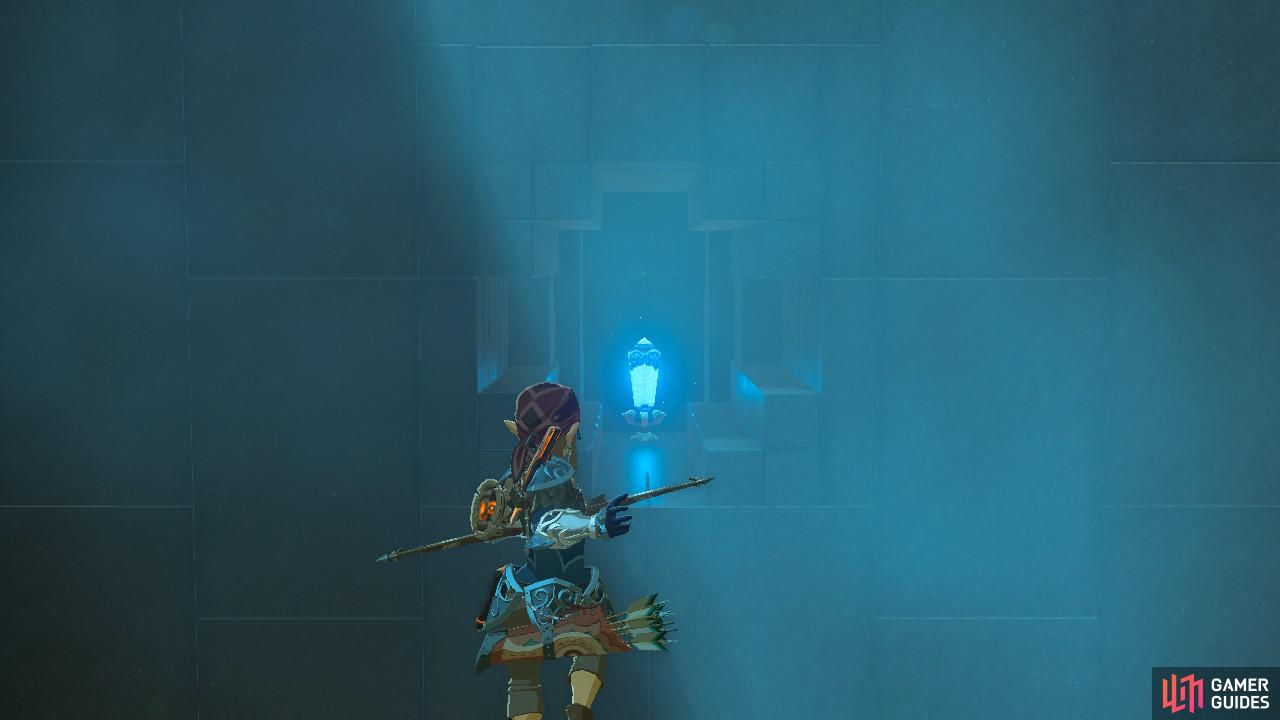
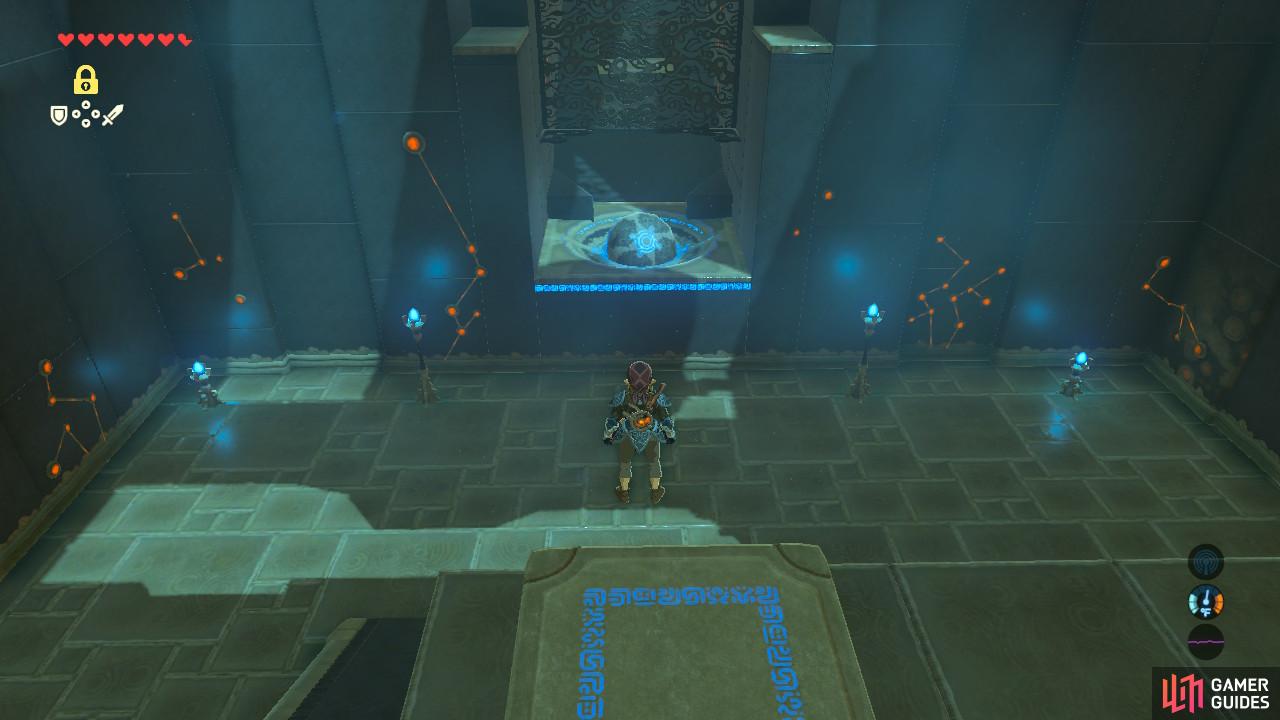
Stock up on arrows and manipulate time to solve this shrine
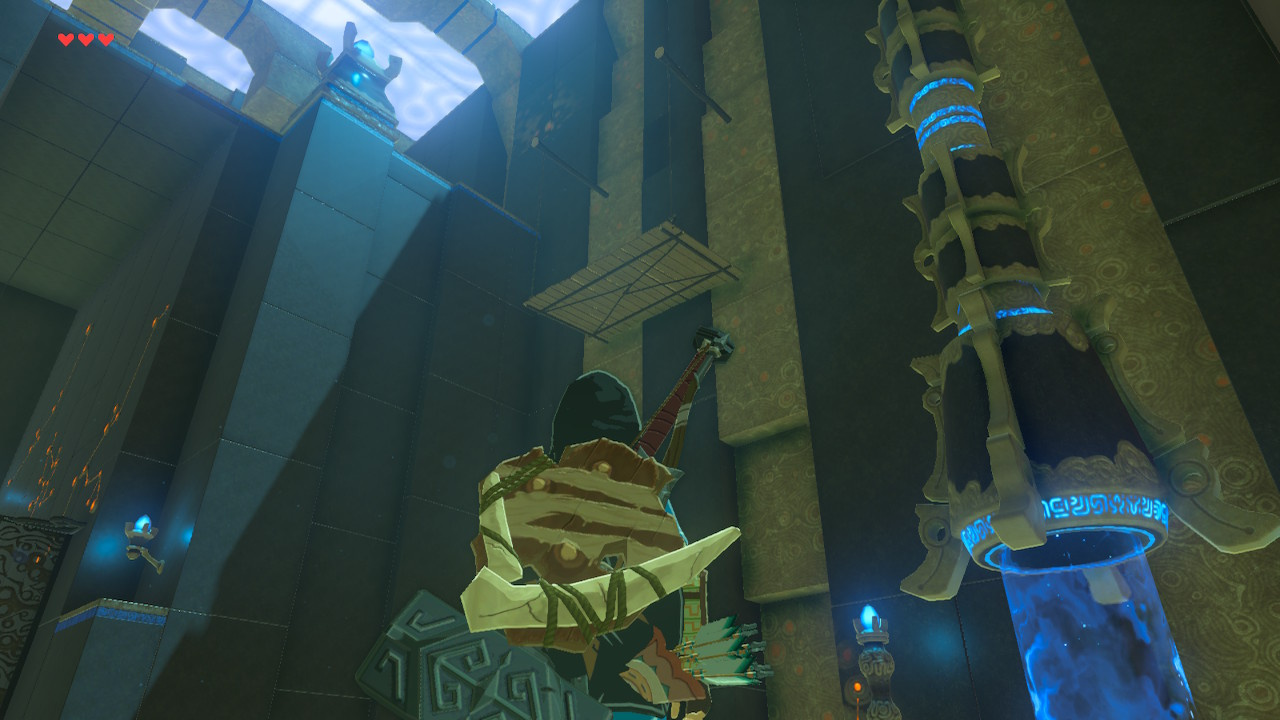
Zelda: Breath Of The Wild: Shae Loya Shrine Solution

Zelda - Zalta Wa and the Two Orbs to Guide You trial solution in Breath of the Wild

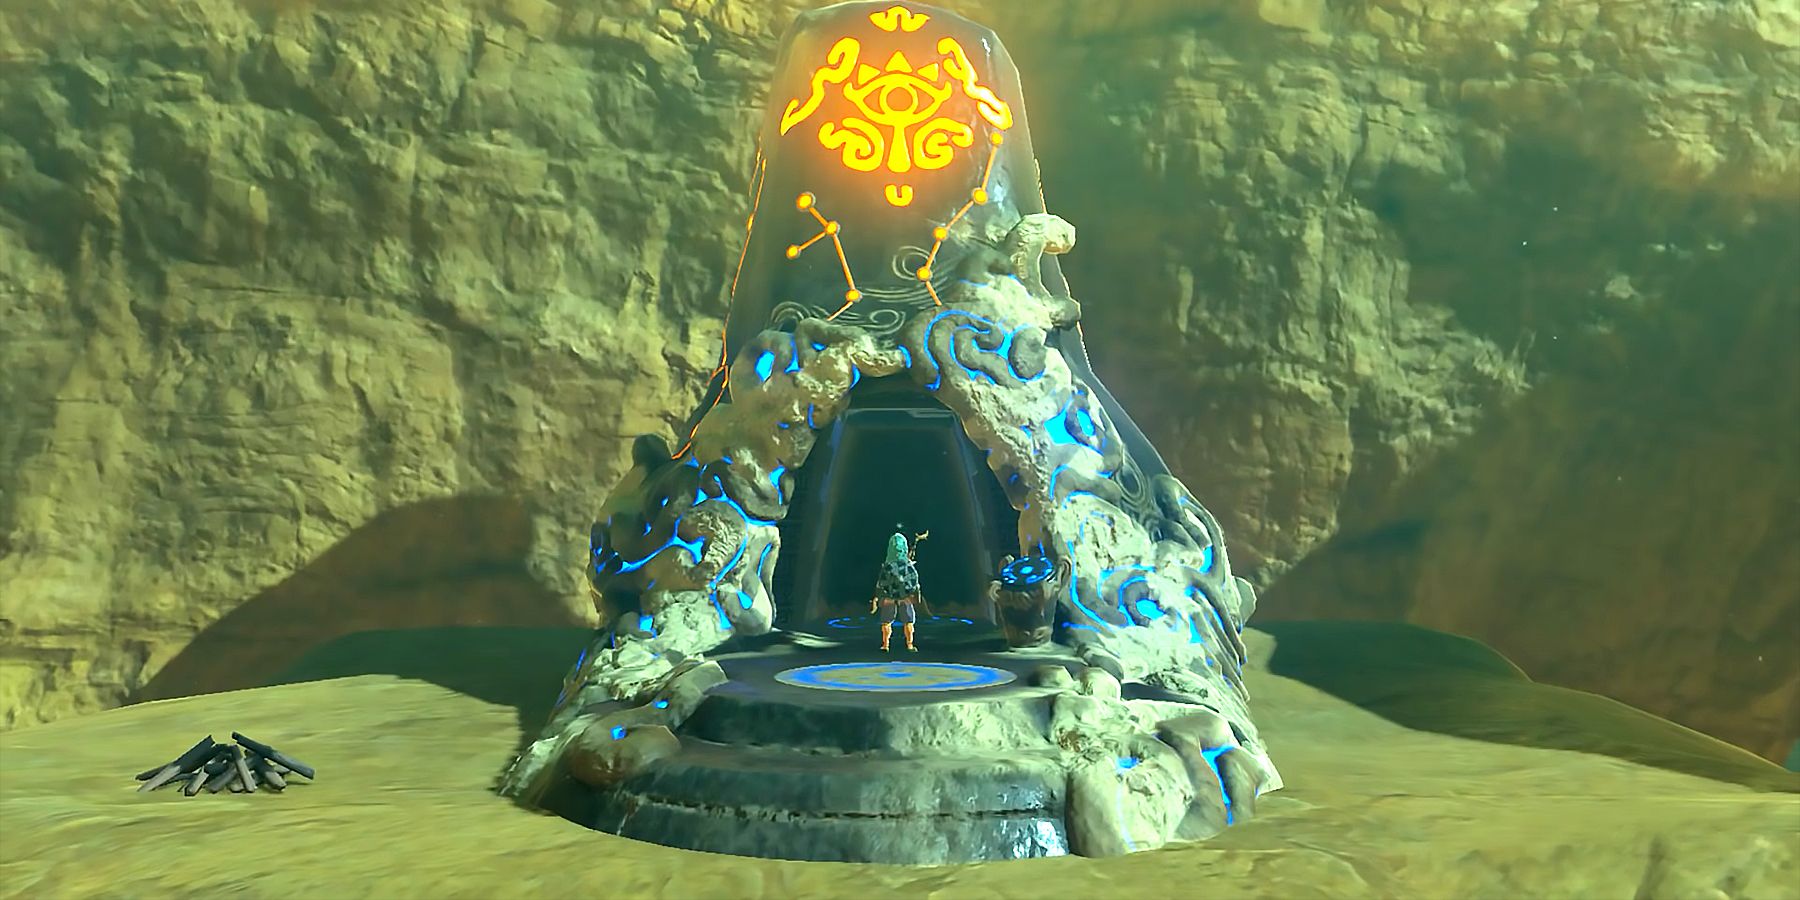
Shae Loya Shrine Guide - Zelda Dungeon
Zelda: Breath of the Wild - All Dueling Peaks Shrine Locations & Solutions
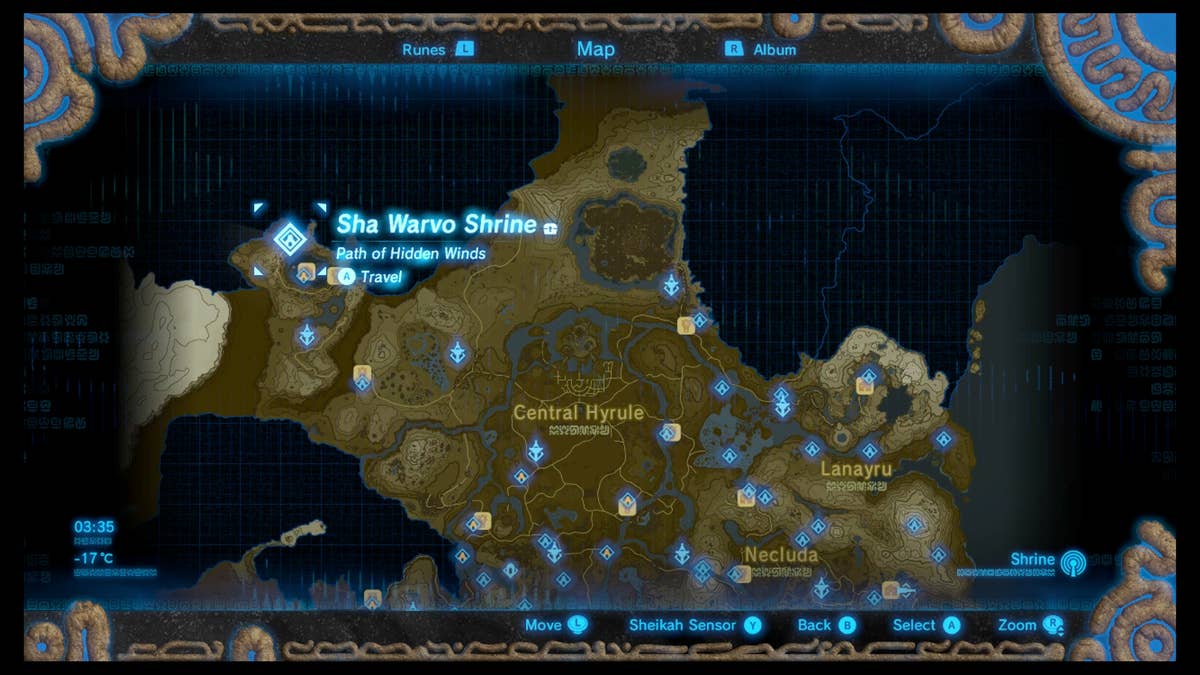
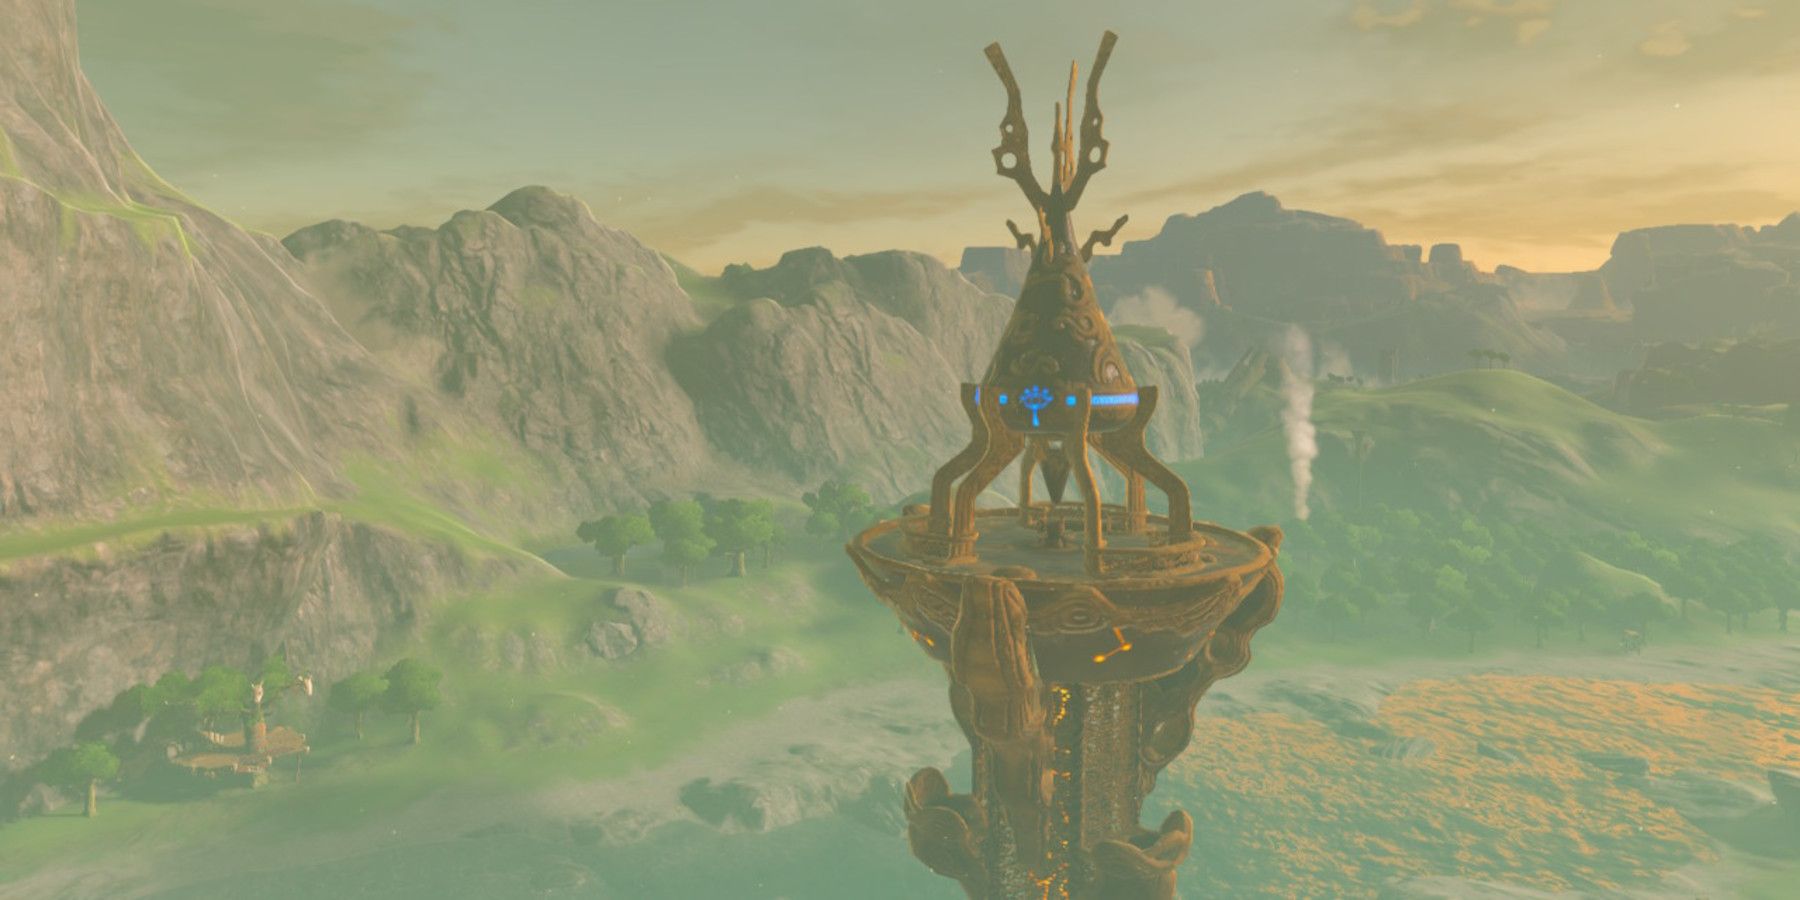
Shae Loya Shrine - Ridgeland Region - Towers and Shrines, The Legend of Zelda: Breath of the Wild
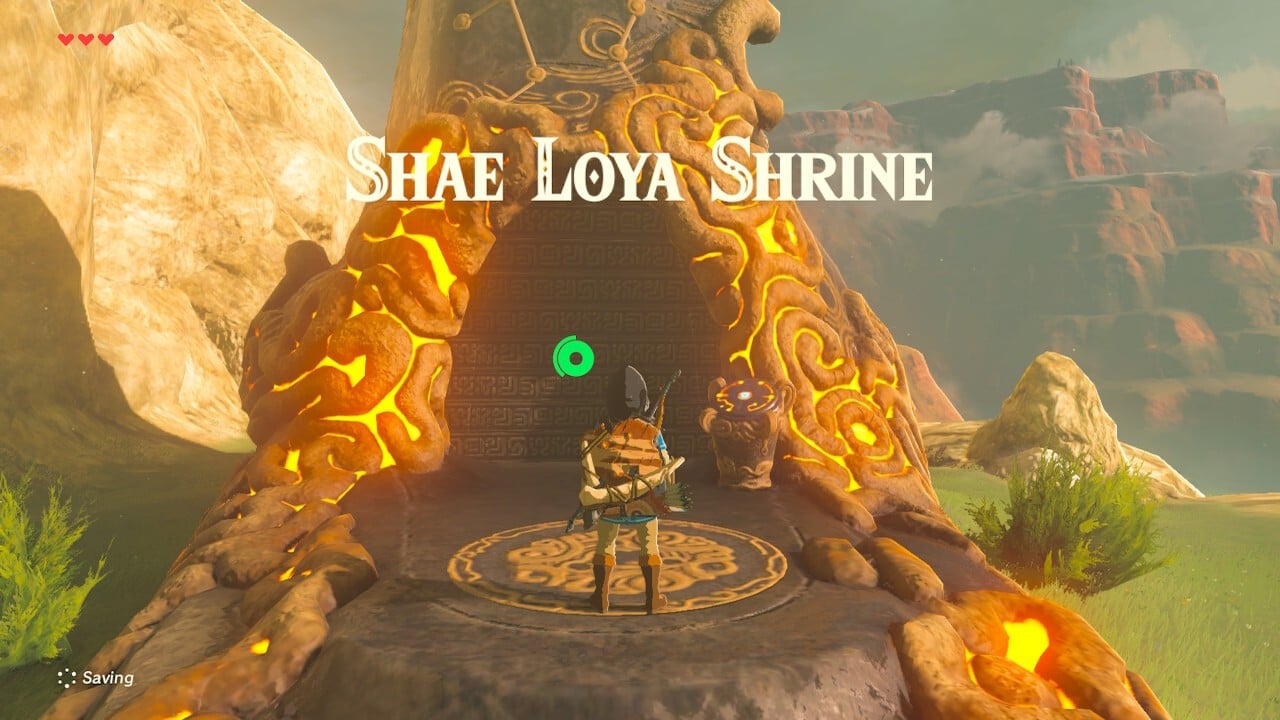
Zelda: Breath Of The Wild: Shae Loya Shrine Solution
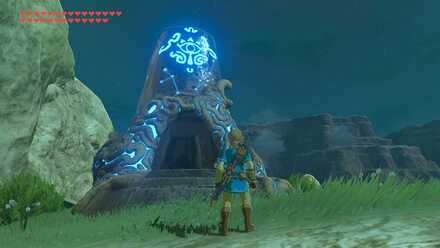
Shae Loya Shrine Walkthrough: Location and Puzzle Solution
Shae Loya Shrine - Ridgeland Region - Towers and Shrines, The Legend of Zelda: Breath of the Wild

Zelda: Breath Of The Wild: Shae Loya Shrine Solution

BotW, Captured Memories - Locations & Rewards
Breath of the Wild: Second Wind [The Legend of Zelda: Breath of the Wild (WiiU)] [Projects]

Hyrule Blog - The Zelda Blog: Breath of the Wild Master Log, Entry 7
Zelda - Toh Yahsa, Trial of Thunder and Buried Secrets solutions in Breath of the Wild

Shae Loya shrine solution BOTW guide - Polygon
de
por adulto (o preço varia de acordo com o tamanho do grupo)